How do I present data in AVL grid in ABAP? If I have a
list of table results from a SQL query, how do I show
this data in AVL?
To display ALV LISTS the function module used are :
REUSE_ALV_LIST_DISPLAY "For Normal LIST
REUSE_ALV_HIERARCHICAL_LIST_DISPLAY "For Hierarchical LIST
To display ALV GRID the function module used are :
REUSE_ALV_GRID_DISPLAY . "For GRID display
The most important component of the ALV is the FIELDCATALOG which is of
All about SAP Internal Tables
In this tutorial we will cover the following topics
Internal Tables . Difference between Internal Tables and Work Areas
Types of Internal Tables
Creating Internal Tables
Populating Internal Tables
Reading Internal Tables
Deleting from Internal table.
Lets Begin!
Internal tables are used to obtain data from a fixed structure for dynamic use in ABAP. Each line in the internal table has the same field structure. The main use for internal tables is for storing and formatting data from a database table within a program.
Work areas are single rows of data. They should have the same format as any of the internal tables. It is used to process the data in an internal table one line at a time.
A picture says a thousand words :-)

sap-internal-table
There are two types of internal tables.
Internal tables with HEADER line
Internal tables without HEADER line.
Internal Tables with Header Line
Here the system automatically creates the work area.
The work area has the same data type as internal table.
This work area is called the HEADER line.
It is here that all the changes or any of the action on the contents of the table are done. As a result of this, records can be directly inserted into the table or accessed from the internal table directly.
Internal Tables without Header Line :
Here there is no work area associated with the table.
Work area is to be explicitly specified when we need to access such tables.
Hence these tables cannot be accessed directly.
Creating Internal Tables
There are many ways to create an Internal Table. Lets look at them one by one-
Let us now create a Internal table itab using the TYPE statement.
Types : begin of line,
column1 type I,
column2 type I,
end of line.
Example:
TYPES : begin of line,
empno type I,
empname(20) type c ,
end of line.
The TYPES statement creates a structure line as defined.
To actually create an Internal Table itab use the following command-
Data itab type line occurs 10.
An internal table itab is created with the structure of line.Besides declaring the structure of an internal table, the OCCURS clause also defines how many table entries are maintained in main storage(in this case 10). Extra records are written out to paging area and can effect performance
You can create an internal table by referring to an existing table. The existing table could be a standard SAP table, a Z table or another internal table.
Syntax-
Data <f> <type> [with header line].
Example-
DATA itab TYPE line OCCURS 10 with header line.
Here an internal table itab is created of the type line with a header line. Please note "with header line" is optional
Syntax-
Data <f> LIKE <struct> occurs n [with header line].
DATA itab LIKE sline OCCURS 10.
Here a table itab is created having a structure same as that of sline
Let us now create an internal table with a structure of our own. Here the table is created with an Header line, by default.
Syntax -
Data : Begin of <f> occurs <n>,
<component declaration>,
.................................,
End of <f>.
Data : Begin of itab occurs 10,
column1 type I,
column2(4) type C,
column3 like mara-ernam,
End of itab.
Internal table itab is created
Now that we have successfully created some internal tables, let us see how do we populate them with some records. There are various methods available to populate tables
1.Append Data line by line
The first method available is the use of the APPEND statement.
Using the APPEND statement we can either add one line from another work area to the internal table or we can add one initial line to the internal table..
Syntax -
APPEND [<wa> TO / INITIAL LINE TO] <itable>.
Here work area <wa> or the Initial Line is appended to the internal table <itable>.
The system variable SY-TABIX contains the index of the appended line.
Example:
Data: Begin of itab occurs 10,
col1 type C,
col2 type I,
end of itab.
Append initial line to itab.
Results : ' ' '0'
Initial lines adds a line initialized with the correct value for its type to the table. Here , col1 is an integer and col2 is a character. Then APPEND initial line , adds a line initialized with respect to the data type of the columns, i.e. 0 for Col1 and space for Col2.
COLLECT is another form of statement used for populating the internal tables. Generally COLLECT is used while inserting lines into an internal table with unique standard key.
Syntax-
COLLECT [<wa> INTO] <itable>.
Incase of tables with Header line, INTO option is omitted. Suppose there is already an entry having a key same as the one you are trying to append, then a new line is not added to the table, but the numeric fields of both the entries are added and only one entry corresponding to the key is present. Value of SY-TABIX is changed to the row of the original entry. Else COLLECT acts similar to APPEND and SY-TABIX contains the index of the processed line.
3.Using INSERT statement
INSERT statement adds a line/work area to the internal table. You can specify the position at which the new line is to be added by using the INDEX clause with the INSERT statement.
Syntax
INSERT [<wa> INTO / INITIAL LINE INTO] <itable> [index <idx>].
Here, the work area <wa> or INITIAL LINE is inserted into internal table <itable> at index <idx>.
Copying Internal Tables
The contents of one internal table can be copied to another by using the APPEND LINES or INSERT LINES statement. A more simpler way is to usetany of the following syntax's.
These copy the contents of ITAB1 to ITAB2. Incase of internal tables with header line we have to use [] inorder to distinguish from work area. So, to copy contents of internal tables with header line the syntax becomes,
itab1[] = itab2[].
Reading Internal Tables
We are now familiar with the creation of internal tables and populating them with data. We will now see how do we actually use the data or retrieve the data from the internal tables.
1. Using Loop -Endloop
One of the ways of accessing or reading the internal table is by using LOOP-ENDLOOP.
Syntax
LOOP AT <itable> [INTO <wa>]
...................................
ENDLOOP.
Here when you say LOOP AT ITABLE, then the internal table ITABLE is read line by line. You can access the values of the columns for that line during any part of the LOOP-ENDLOOP structure. The value of the SY-SUBRC is set to 0, even if only one record is read.
2. Using READ
The other method of reading the internal table is by using the READ statement.
Syntax-
READ TABLE <itable> [INTO <wa>] INDEX <idx>.
This statement reads the current line or line as specified by index <idx>. The value of SY-TABIX is the index of the line read. If an entry with the specified index is found, then SY-SUBRC is set to 0. If the specified index is less than 0, then run-time error occurs. If the specified index exceeds table size then SY-SUBRC is set to 4.
Deleting Internal Tables
There are many ways for deleting lines from an internal table.
1.Deleting lines in a loop.
This is the simplest way for deleting lines.
Sytax
DELETE <ITABLE>.
This statement works only within a loop. It deletes the current line. You can delete the lines in a loop conditionally by adding the WHERE clause.
2.Deleting lines using the index.
This is used to delete a line from internal table at any know index.
Syntax
DELETE <ITABLE> INDEX <IDX>.
The line with the index <IDX> is deleted. The index of the following line is decremented by 1.
System Fields for Current Date and Time
The following system fields are always set automatically.
The GET TIME statement synchronizes the time on the application server with the time on the database server and writes it to the field SY-UZEIT. SY-DATUM and the system fields for the local timezone (SY-TIMLO, SY-DATLO, and SY-ZONLO) are also reset.
SY-DATLO
User’s local date, for example 19981129, 19990628, …
SY-DATUM
Current application server date, for example 19981130, 19990627, …
SY-DAYST
X during summertime, otherwise space.
SY-FDAYW
Factory calendar day of the week: Monday = 1 … Friday = 5.
SY-TIMLO
User’s local time, for example 154353, 225312, …
SY-TZONE
Time difference in seconds between local time and Greenwich Mean Time (UTC), for example,
360, 10800.
360, 10800.
SY-UZEIT
Current application server time. for example 164353, 215312, …
SY-ZONLO
User’s time zone, for example, EST, UTC, …
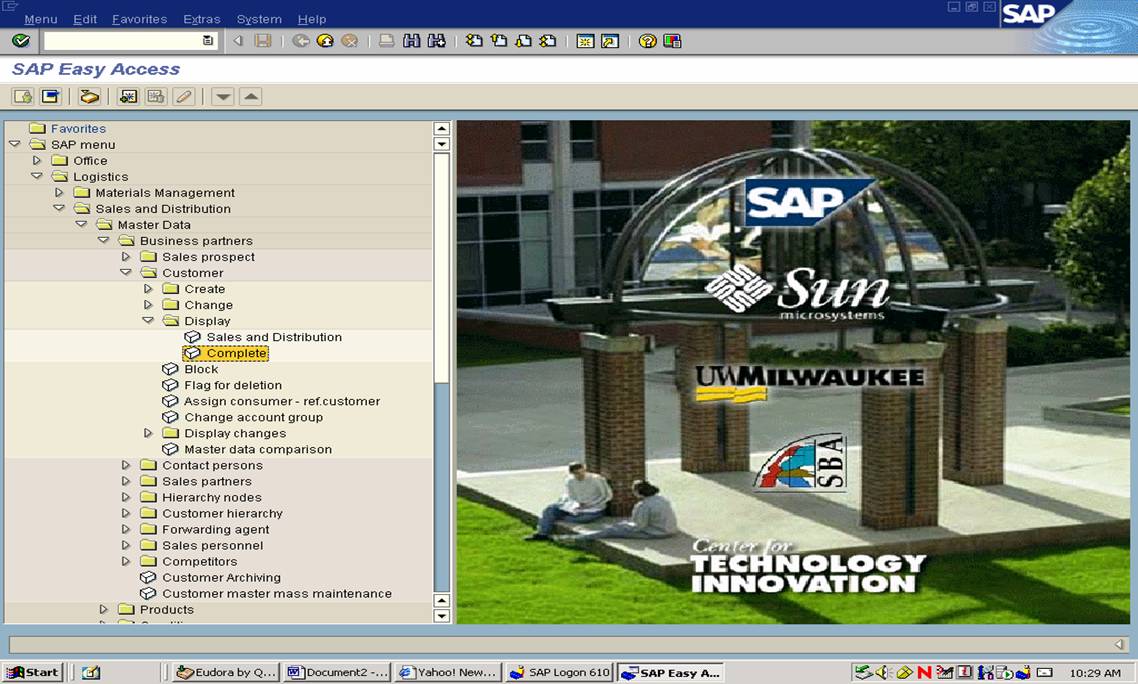
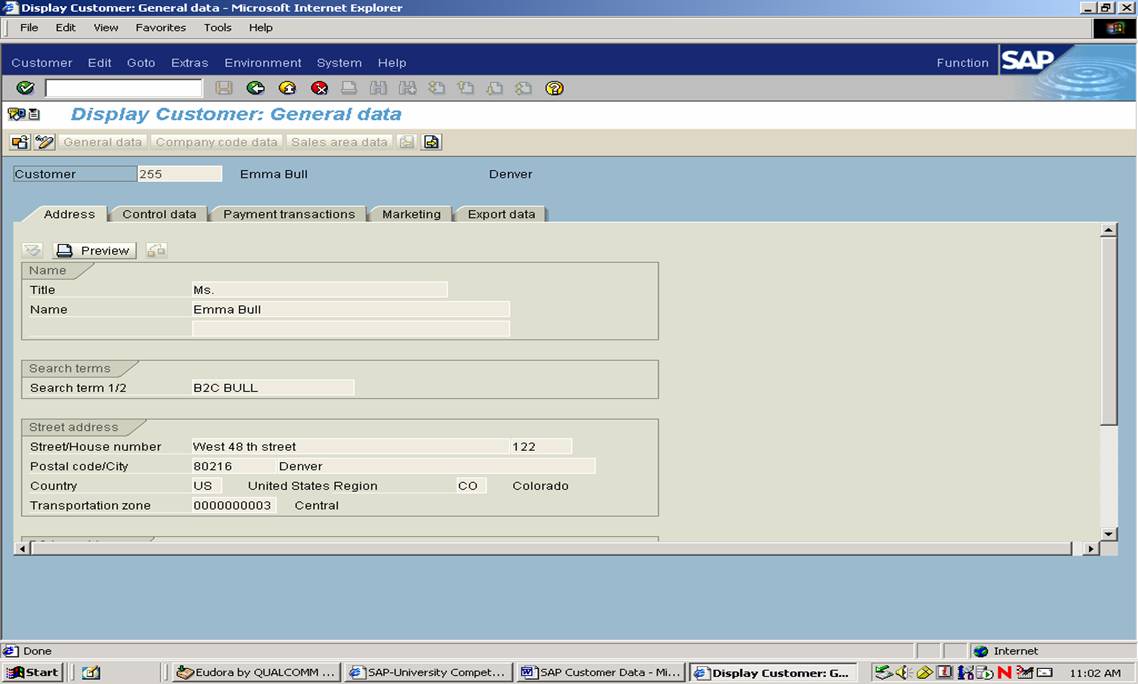
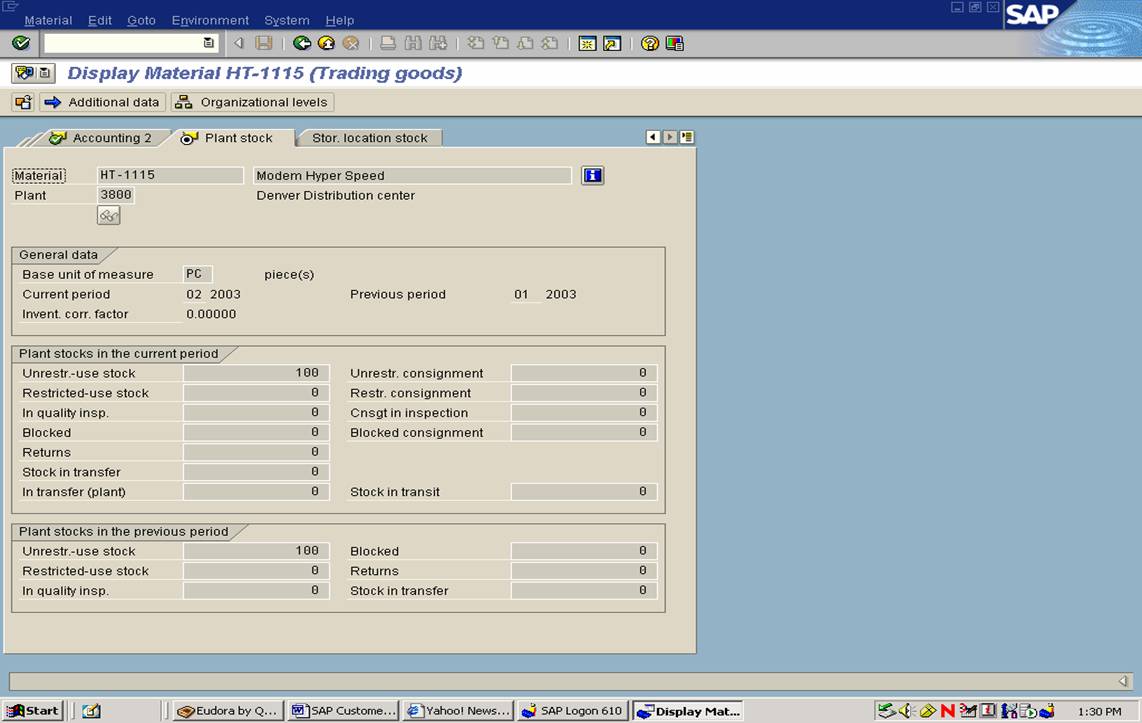
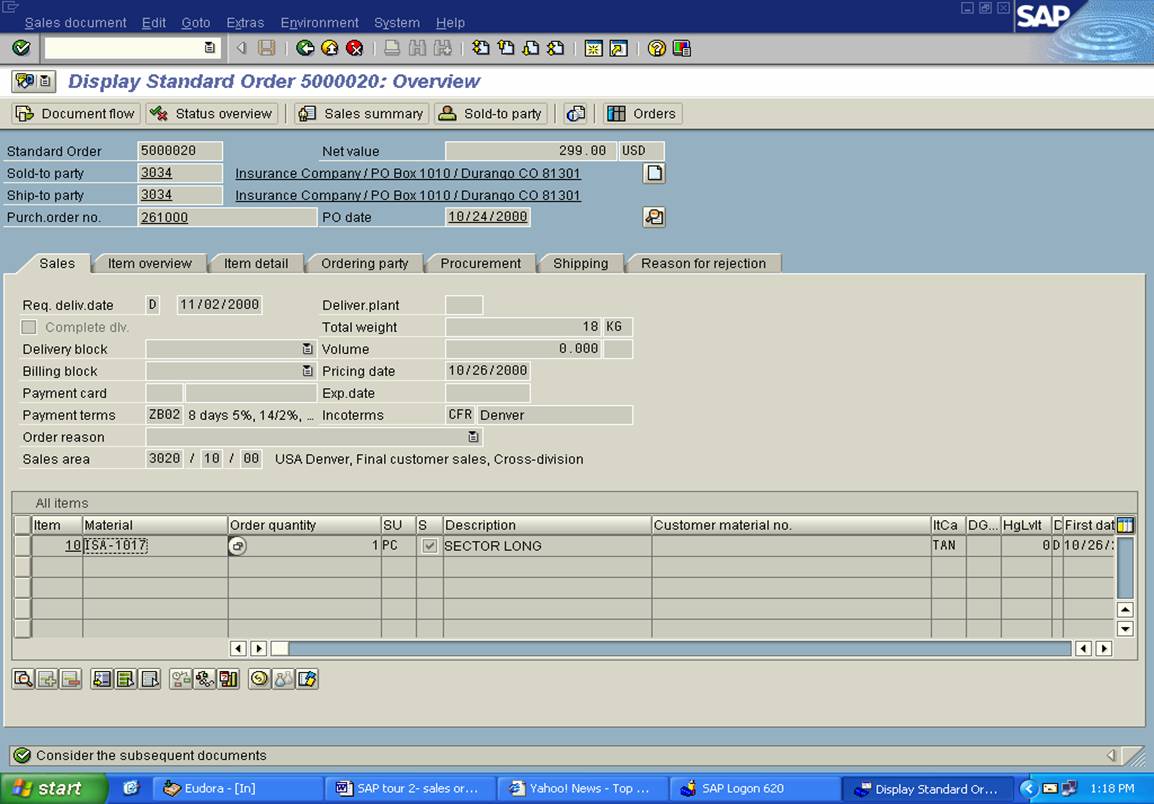
SAP Sample Screens
This series of SAP sample screens is intended to show you some of the capabilities of this system. While these screens come from multiple modules, look for ways data in one module can meet the needs of multiple functional areas (e.g. customer service, production, accounting).
Initial SAP menu
Initial customer information
Product Information
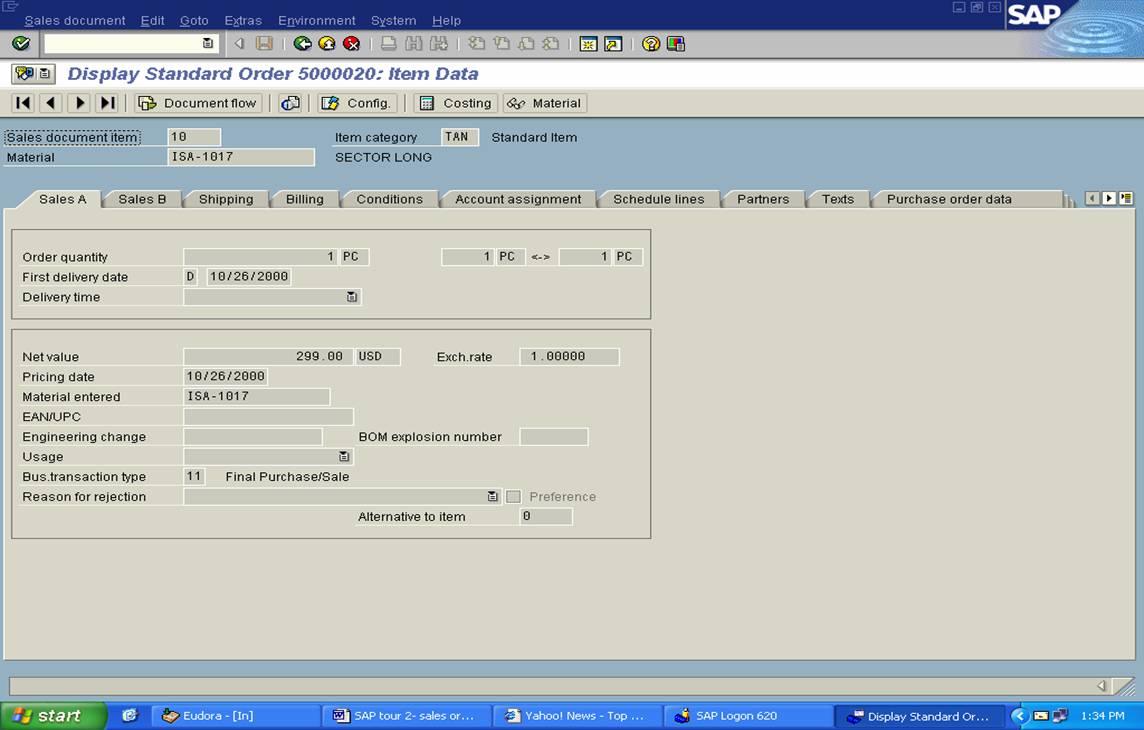
Sales Order Information
Materials Information
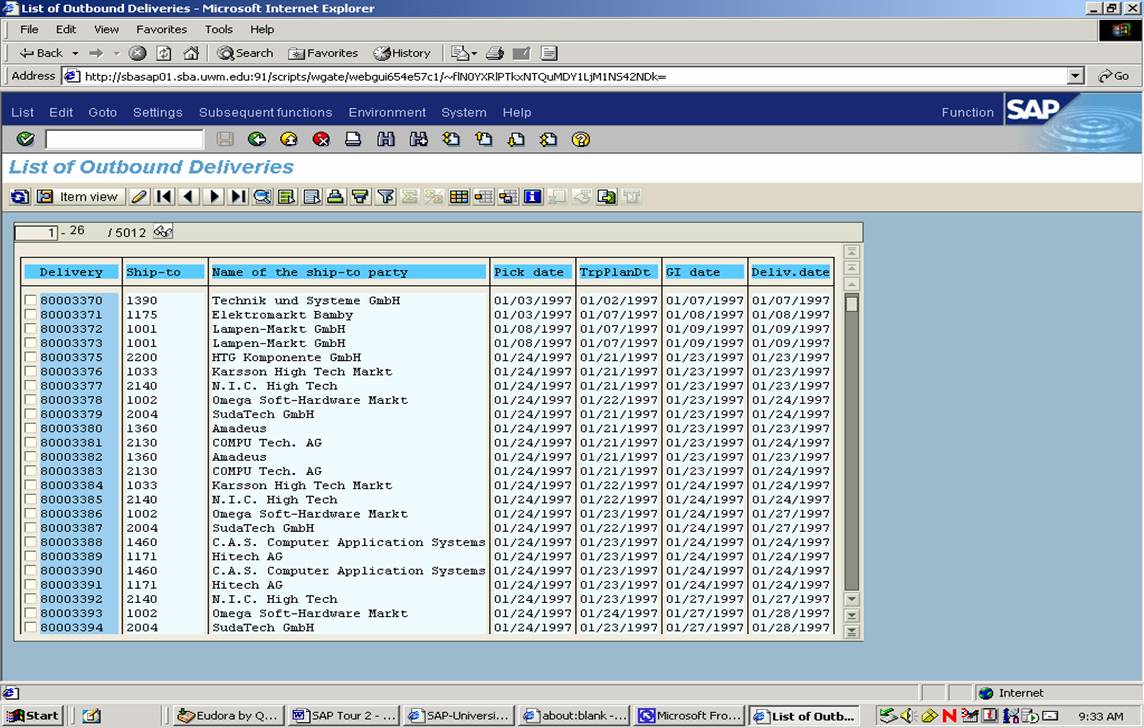
Scheduled Deliveries
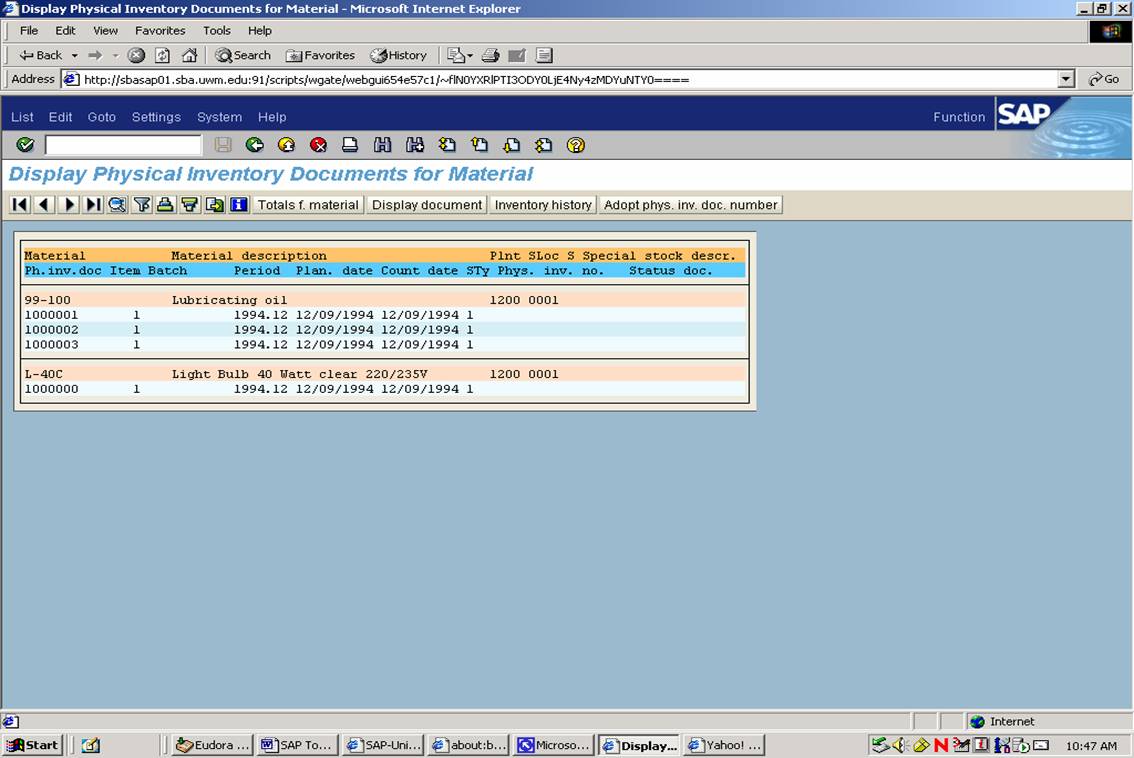
Inventory Report
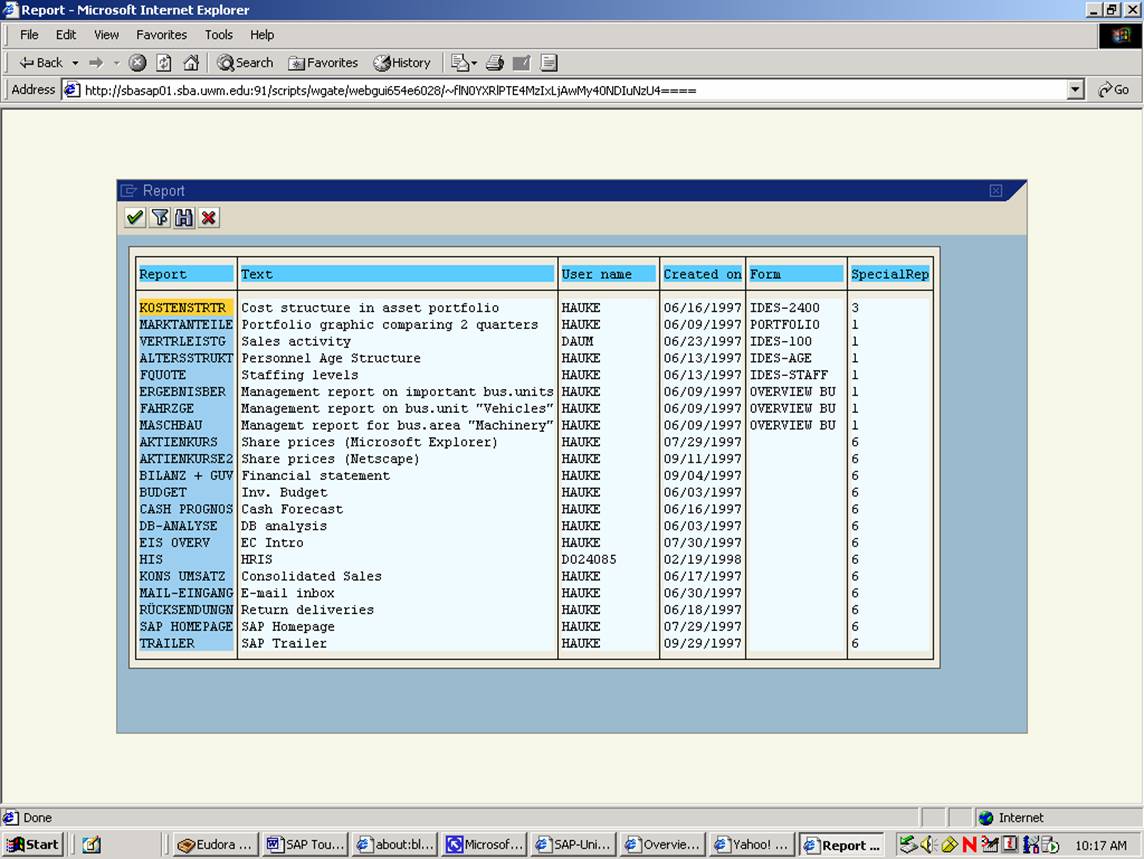
Executive reports
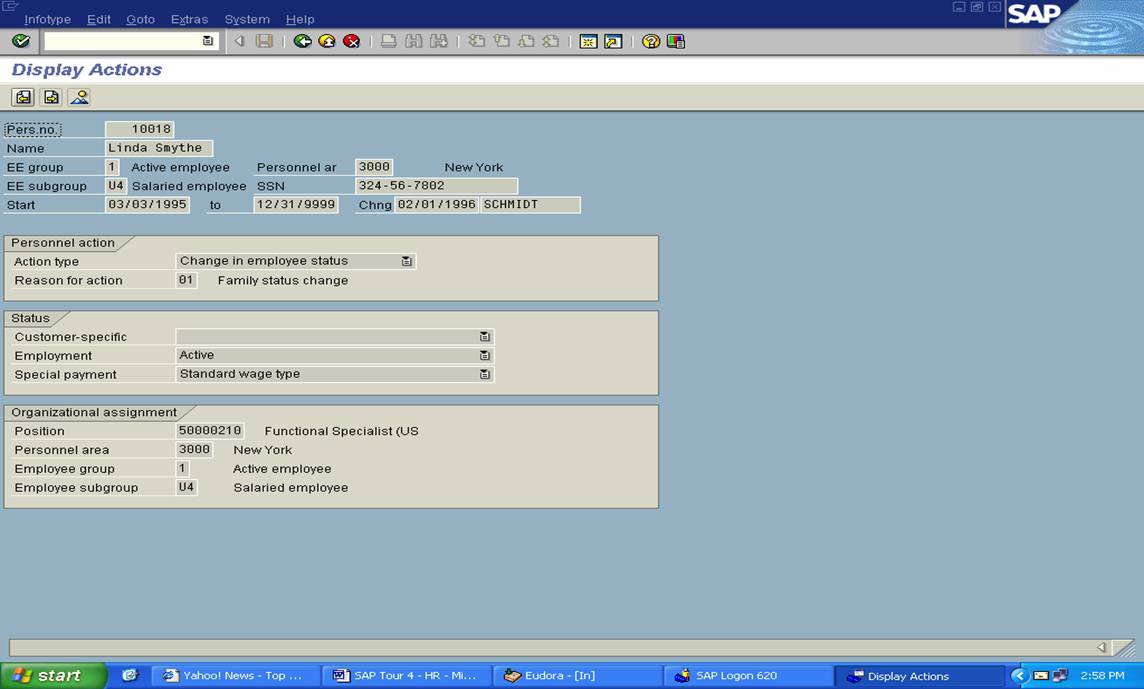
Personnel Screen
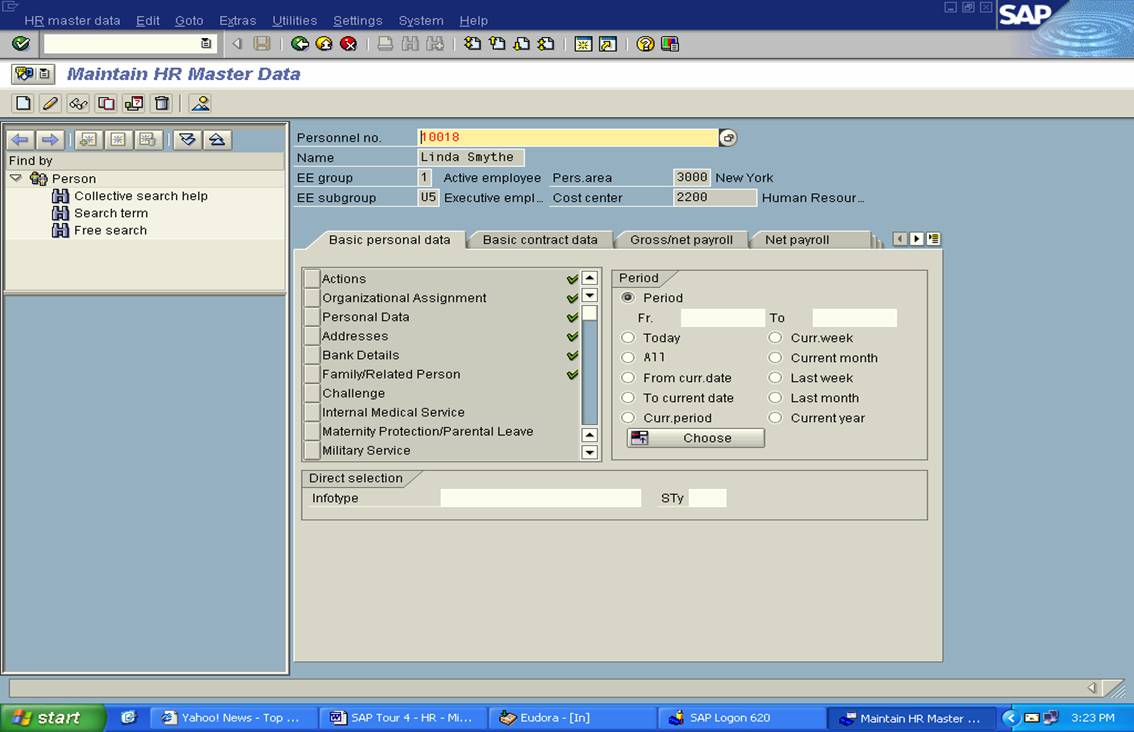
Personnel Changes
No comments:
Post a Comment